


ITEMS £0.00
Browse by Brand
Atomos
Billingham
Binoculars and Telescopes
BlackRapid
Canon
Celestron
DJI Drones
DJI Osmo
Fujifilm GFX
Fujifilm X Series
Gitzo
GPO
Hahnel
Insta360
Joby
Lee Filters
Leica
Leica Sport Optics
Leofoto
LowePro
MagMod
Manfrotto
Mindshift
NatureCams
Nikon
Olympus
Panasonic
Peak Design
Rode
Rotolight
Samyang
Saramonic
Sigma
Sony
Tamron
thinkTANK
Tokina
Zeiss Lenses
Zhiyun
5 Tips for Taking Great Product Photos
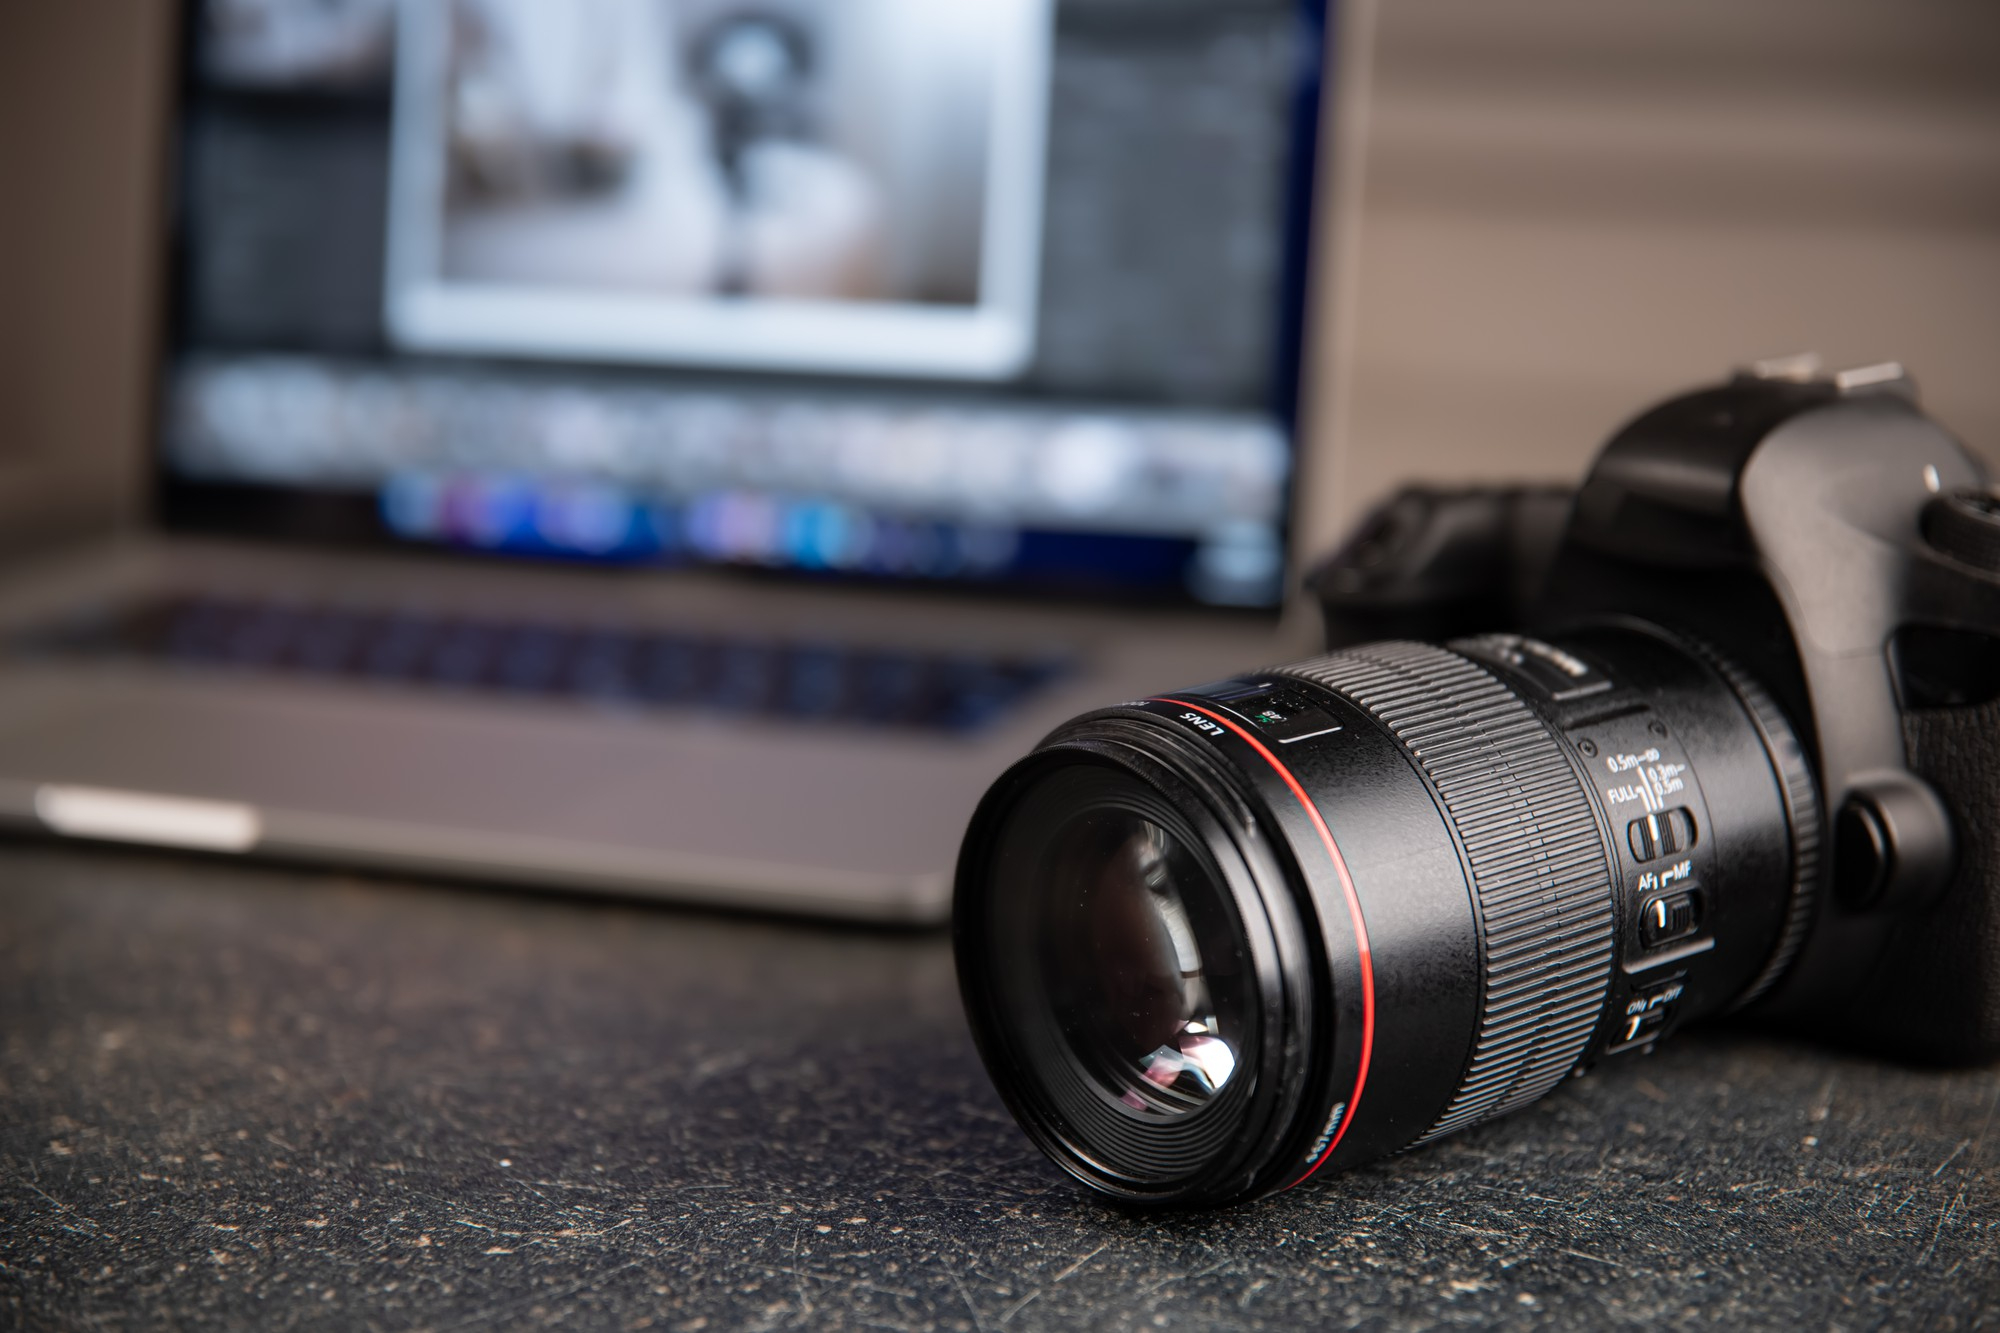
Taking great product photos is not as easy as it may seem. Whether you’re a brand ambassador showcasing that must-have product on your social feed or looking to populate your website with awesome engaging product shots, the LCE team have identified five key success factors that all contribute to the overall quality of your images. Make sure you’ve considered all five when taking those all-important product shots to capture that perfect ‘wow’ image.
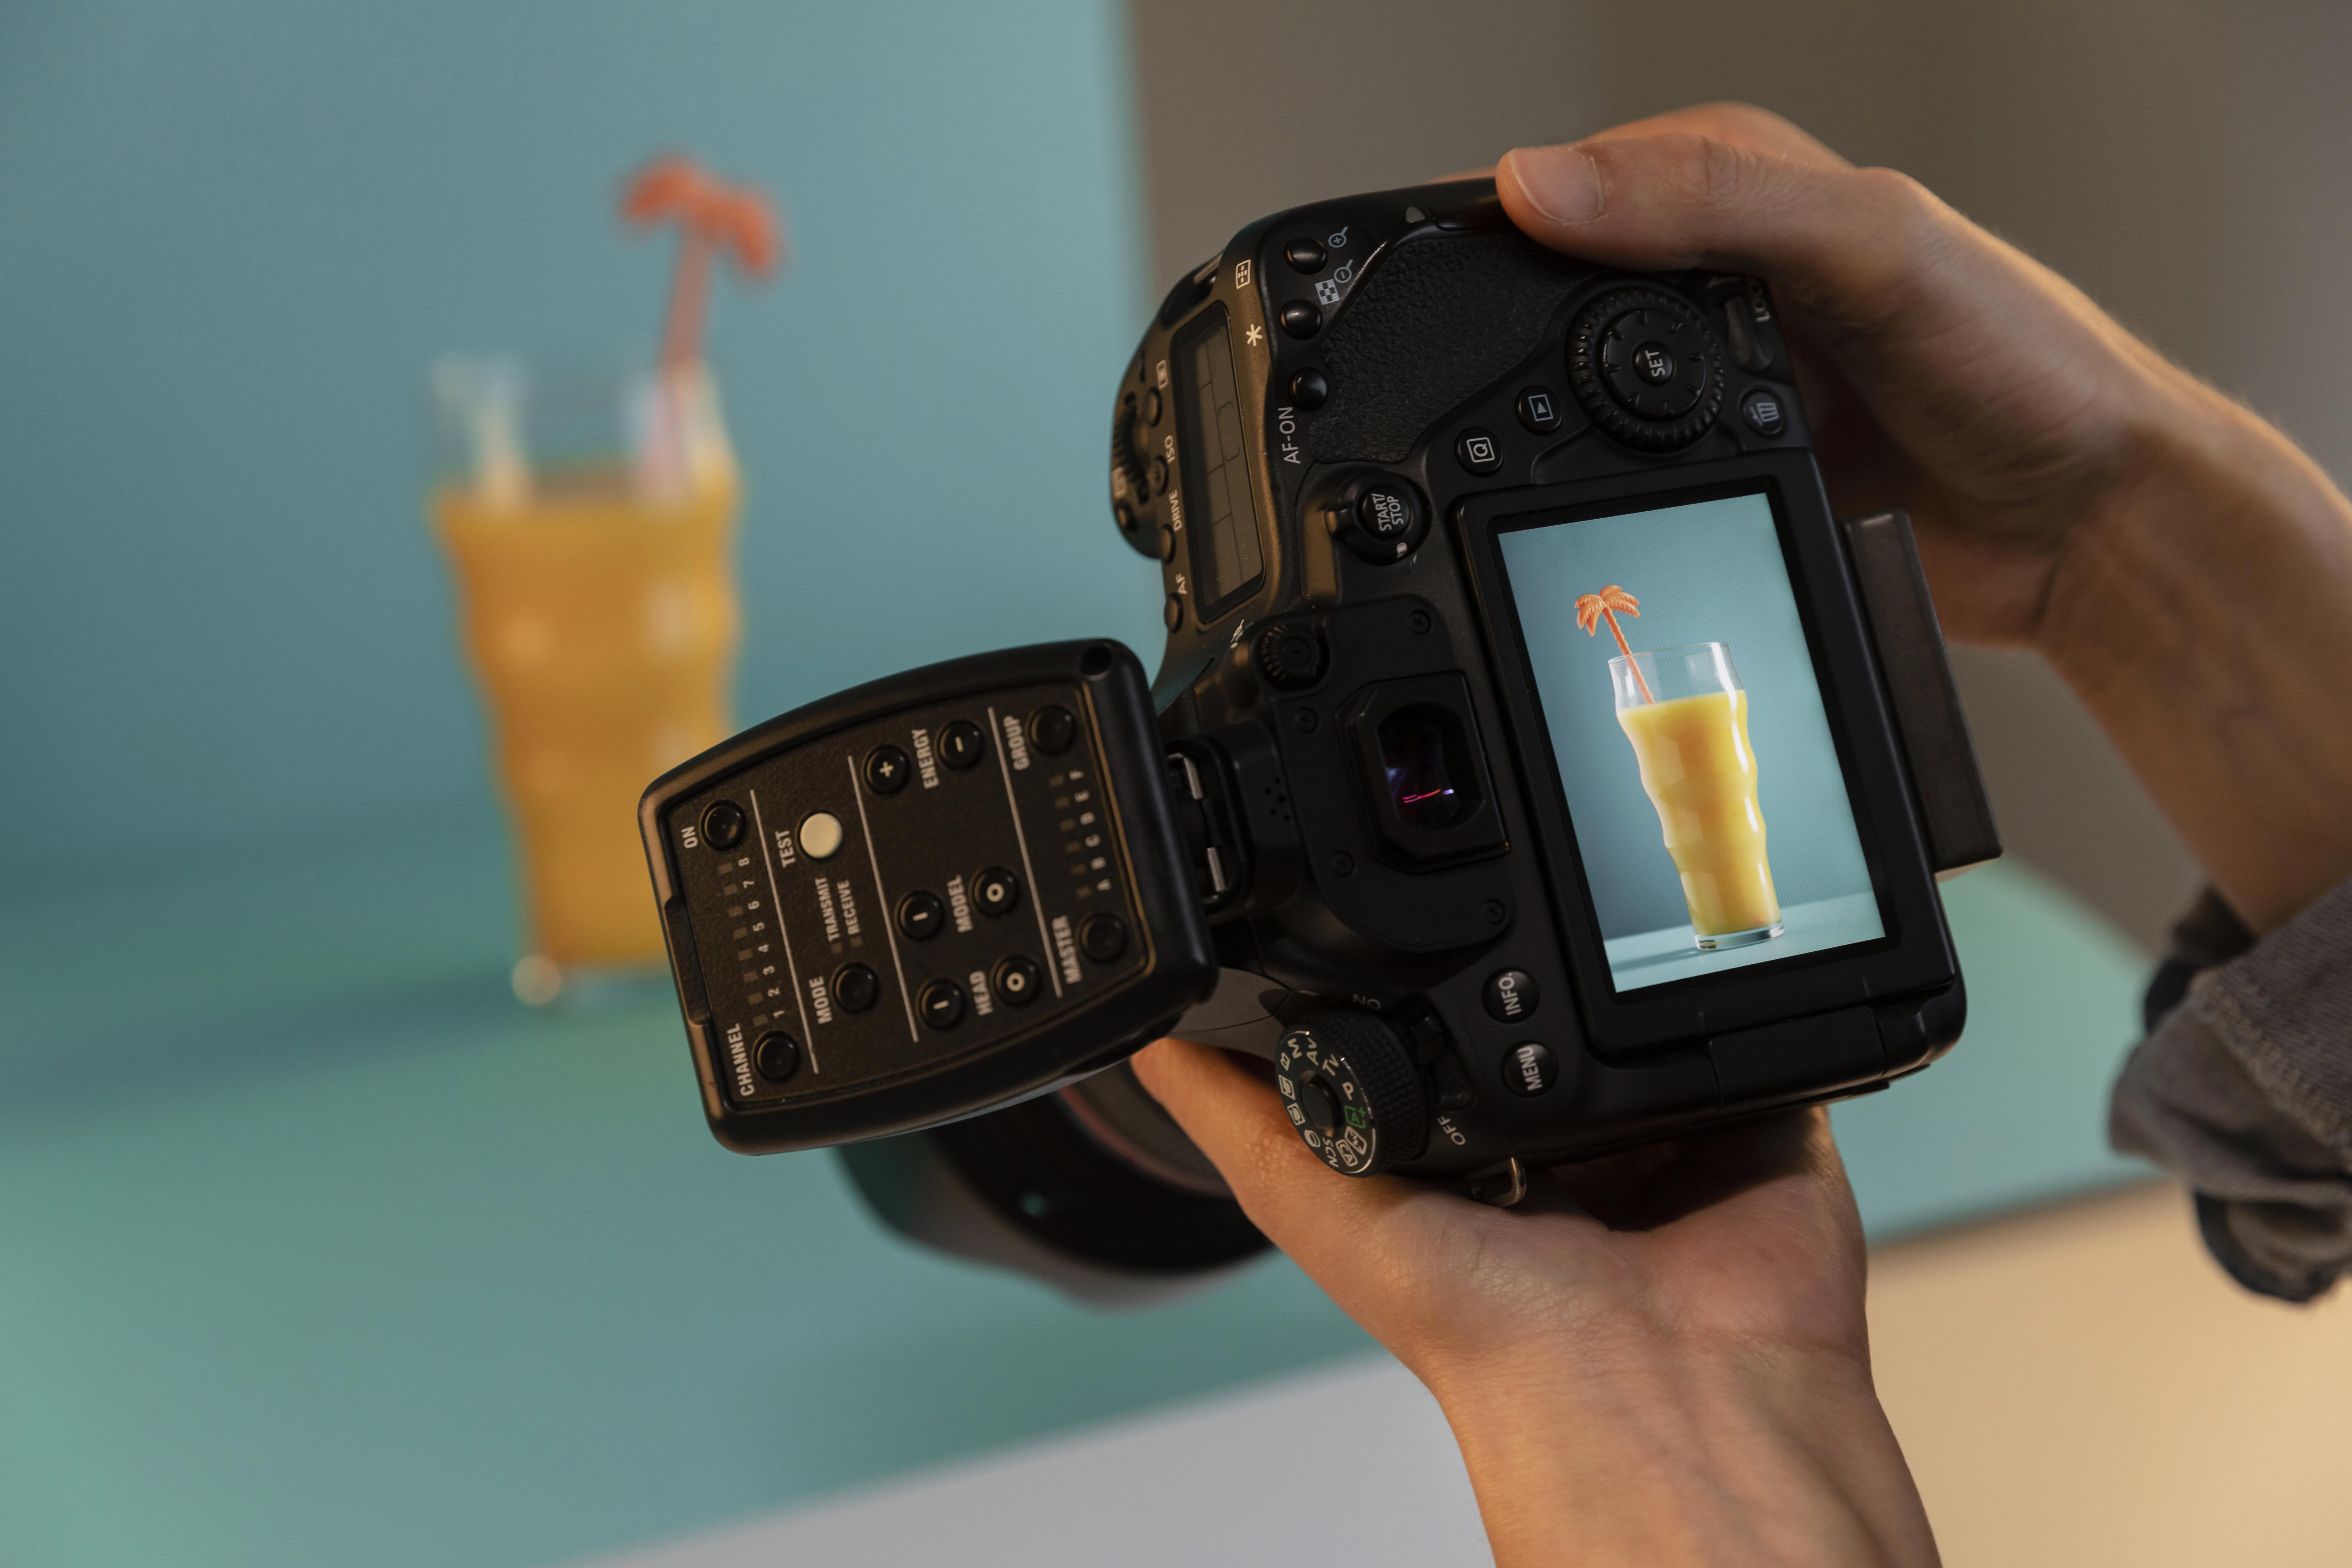
1.Lighting
Shoot your products near a large window or outdoors during daylight hours to take advantage of soft, diffused lighting. Natural lighting can enhance the realness and rawness of your product. If you’d rather use studio lighting, use artificial lights like soft boxes, umbrella lights, or ring lights to create a well-lit environment. Experiment with different angles and intensities to achieve the desired effect..
2. Background
Use a clean and clutter-free background to direct the viewer's focus towards the product. If an unwanted object still appears in the background of the photograph - don’t worry, you can use software such as Adobe Photoshop or Lightroom to remove it later.Consider using a plain white background or a complementary colour that enhances the product's appearance. Seamless paper, fabric, or a lightbox can help achieve a professional look.
3. Composition
Employ the rule of thirds to achieve the best results. Divide the frame into nine equal parts using two horizontal and two vertical lines and position the main elements along these lines or at their intersections. By doing so, it will be easier to experiment with different angles and perspectives to capture unique and engaging shots. Ensure the product is the main focal point and occupies a significant portion of the frame.
4. Product Presentation
Showcase the product's features and details clearly by highlighting unique selling points and using props sparingly to intensify the visual appeal. Consider capturing multiple shots from different angles to provide a comprehensive view and you will be guaranteed to get the perfect image.
5. Camera Settings
Use a tripod to stabilise your camera and avoid blurry images. To have better control over settings such as aperture, shutter speed, and ISO, shoot in manual mode or aperture priority mode. Adjust the aperture to control the depth of field and create a blurred background (shallow depth of field) or a sharp focus throughout (deep depth of field).
Post-processing
Once you have that killer product image, take advantage of the wealth of editing tools out there. Apps like Adobe Photoshop or Lightroom will allow you to enhance colours, adjust exposure, and remove imperfections if necessary. Just make sure you maintain a consistent editing style across your product images to achieve a cohesive look.Remember, practice makes perfect! Experiment with different techniques and styles to develop your own unique approach to product photography.
New Lenses: Click here


