


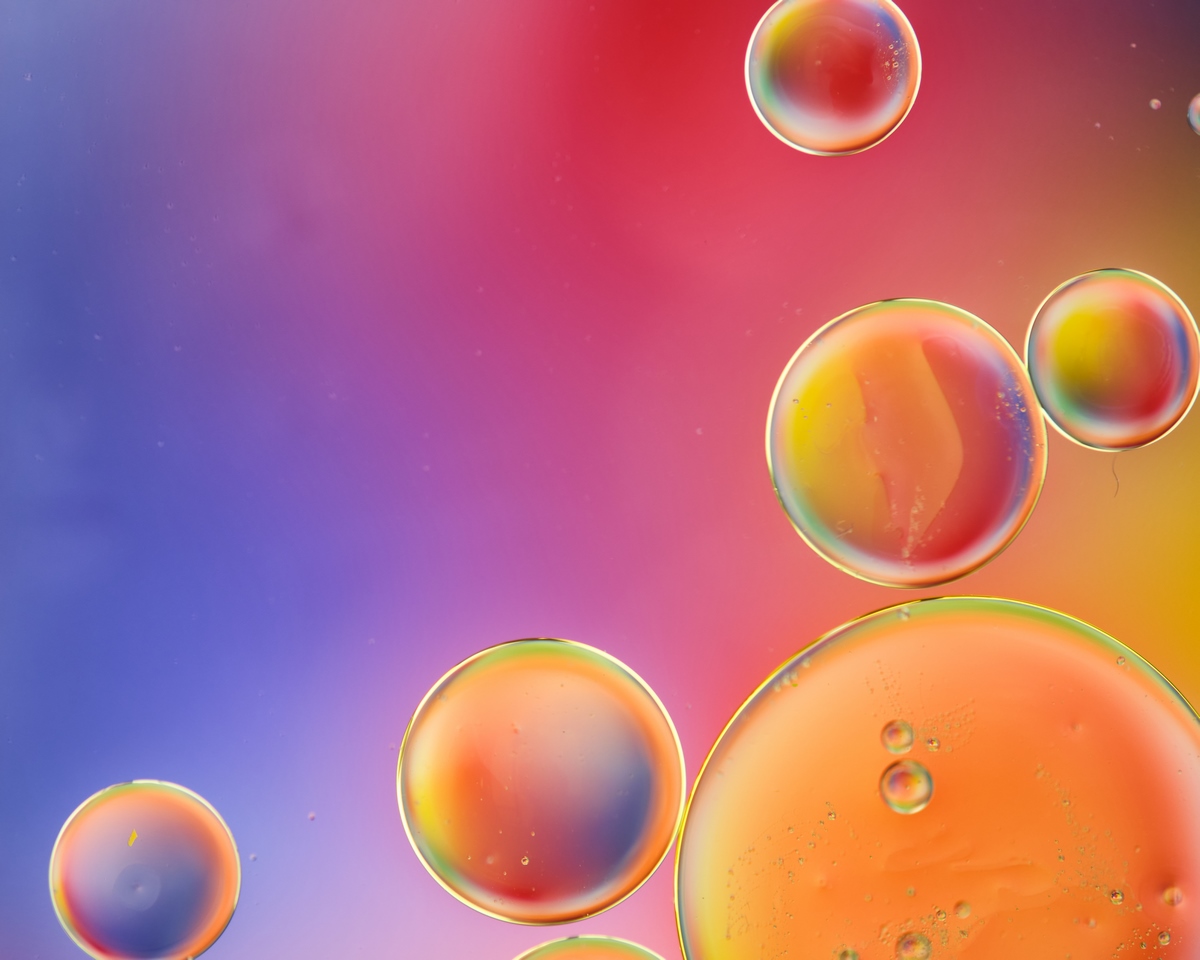
Oil and Water Photography
I hope you are enjoying the #LCE21DayPhoto challenge. Today’s subject revolves around the effect that oil droplets have when placed on a bed of water and the abstract effects you can create with your camera. I think of the water as a movable canvas, the oil sits on the canvas and can be manipulated to create really interesting effects. This is one of those subjects that has almost endless possibilities and it is unlikely that any two pictures will be the same. In the following blog I will talk you through the equipment and method I used.
Equipment
All of those who have attempted this task before will have variations on the equipment used, but this is my list:
- Glass pyrex dish (a glass bowl or similar will work)
- Water
- Oil (I used olive oil, any cooking oil should work)
- Pipette (something similar will work well)
- Camera
- Macro lens
- Tripod
- Coloured paper (to use as a background)
- Two chairs (to keep the glass dish raised from the ground)
- Washing up liquid
- Remote camera trigger
The Setup
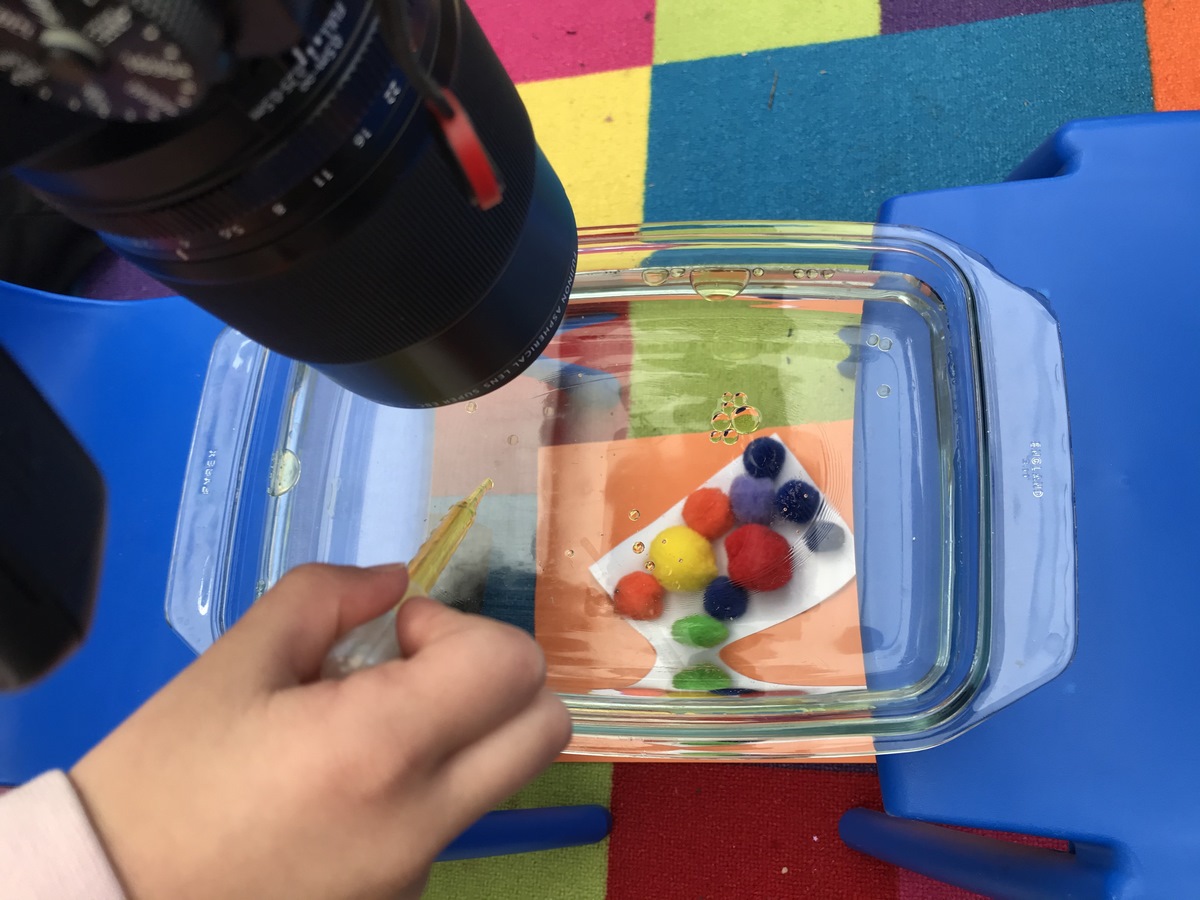
I set up in the brightest room available and got the pyrex dish as clean as possible. I placed the glass pyrex bowl on top of the two chairs, leaving a gap between them, I filled it to around two thirds full. I put a small amount of washing up liquid into the water, this gives the oil a more defined edge. It might be worth attempting this task without the washing up liquid and then with so that you can see the difference.
I placed my tripod and angled the camera so that it was pointing straight down towards the water. Please make sure that the tripod is nice and stable, we don’t want it tipping over!
I set my focus to manual and focused on the surface of the water. In order to make sure your focus is accurate I would put a drop of oil and tweak the focus. If you have focus peaking on your camera then this can be a great help. Once focus is set up you shouldn’t need to change it (except for minor tweaks).
I placed my background on the floor beneath the glass dish leaving plenty of distance (as I wanted the background out of focus).
Place a few drops of oil on the water beneath the lens and take some test exposures to make sure your shutter speed, aperture and ISO are set as you wish.
The Capture
Once everything was set up I could shoot as many exposures as I wanted. I would recommend shooting in RAW file format (if available) as this will give you a great amount of control in post processing. I used the WiFi on my camera so that I could trigger the camera wirelessly (this avoids knocking the camera and creating uneven exposures). A wired camera release or IR remote will also work well, but please don’t think they are essential.
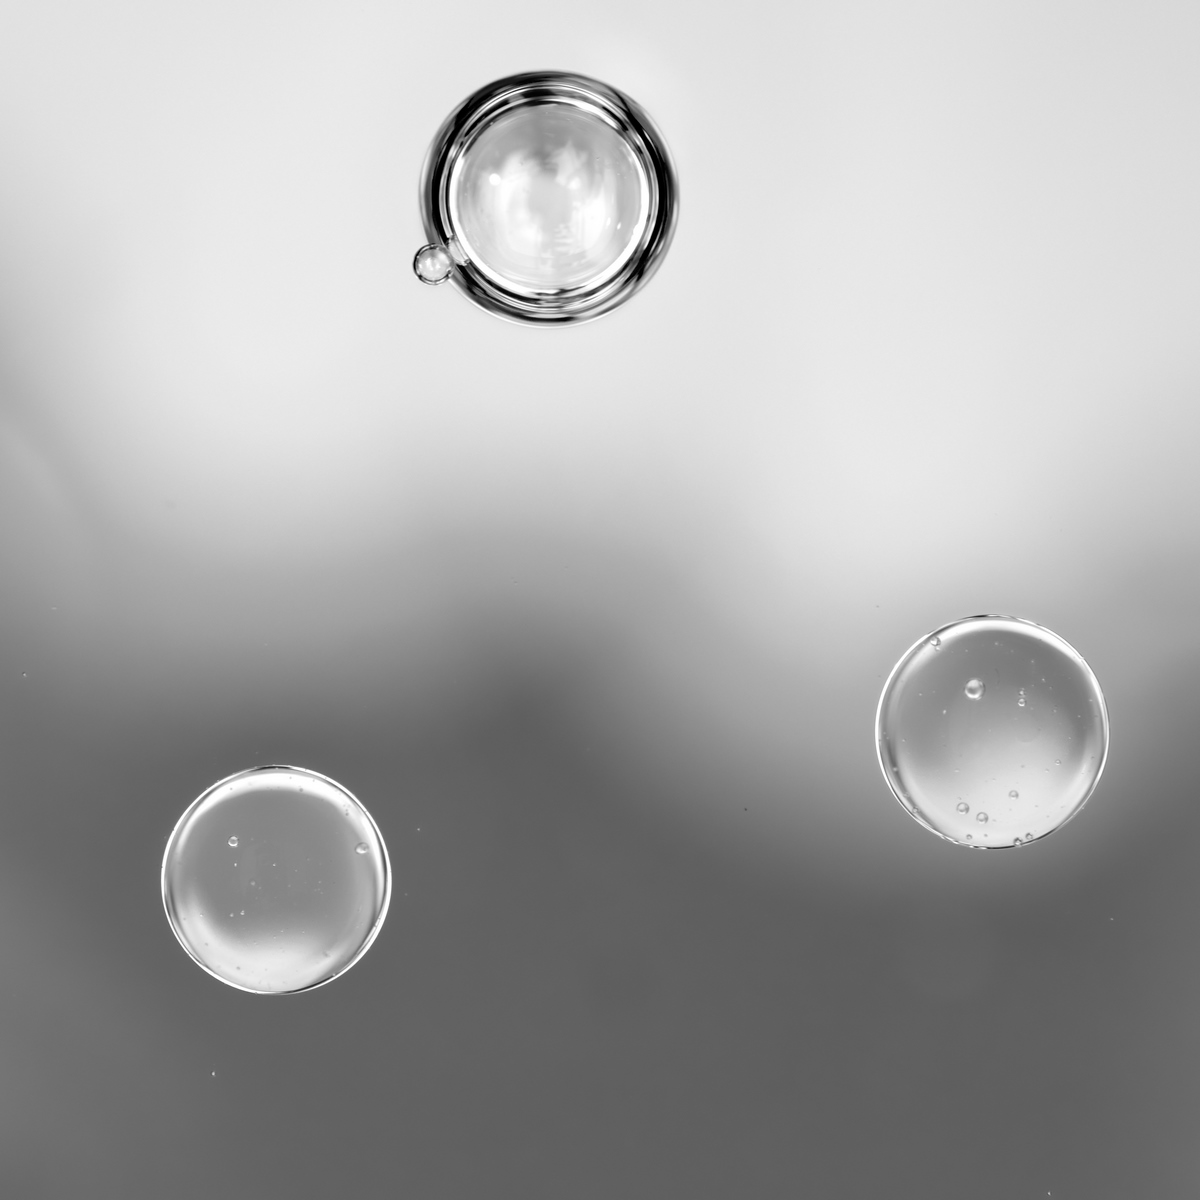
This is all about experimenting. I placed five drops into the water (as close to the surface as possible to avoid unwanted splashes) and then guided them into the right place (below the lens) by blowing the oil drops from the side or lightly moving the water with the pipette. Once the oil droplets were in the right place I just released the shutter on the camera. Swirling the water around meant that the oil rendered into different shapes, bubbles formed inside the oil and created different effects.
The backgrounds I used were:
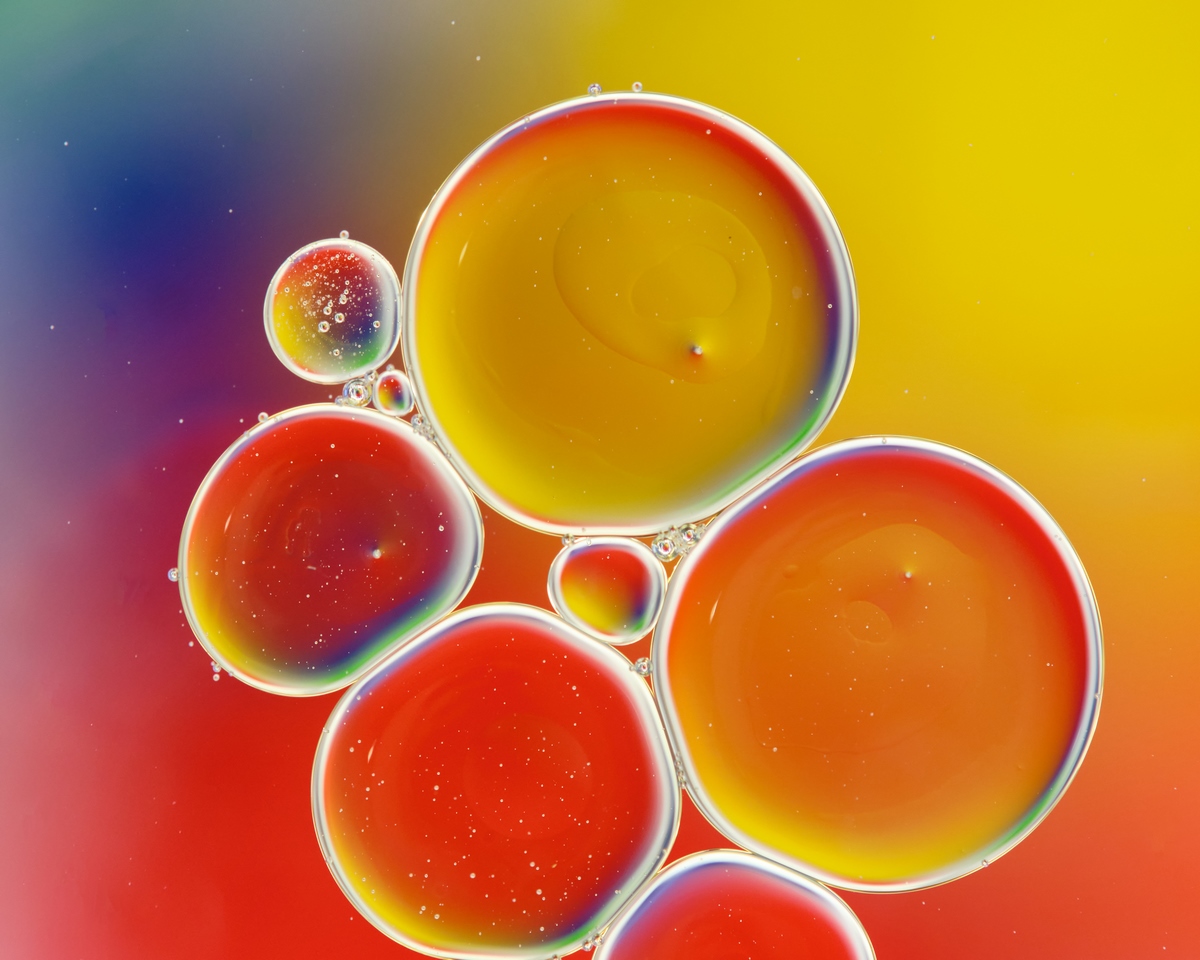
- Orange card
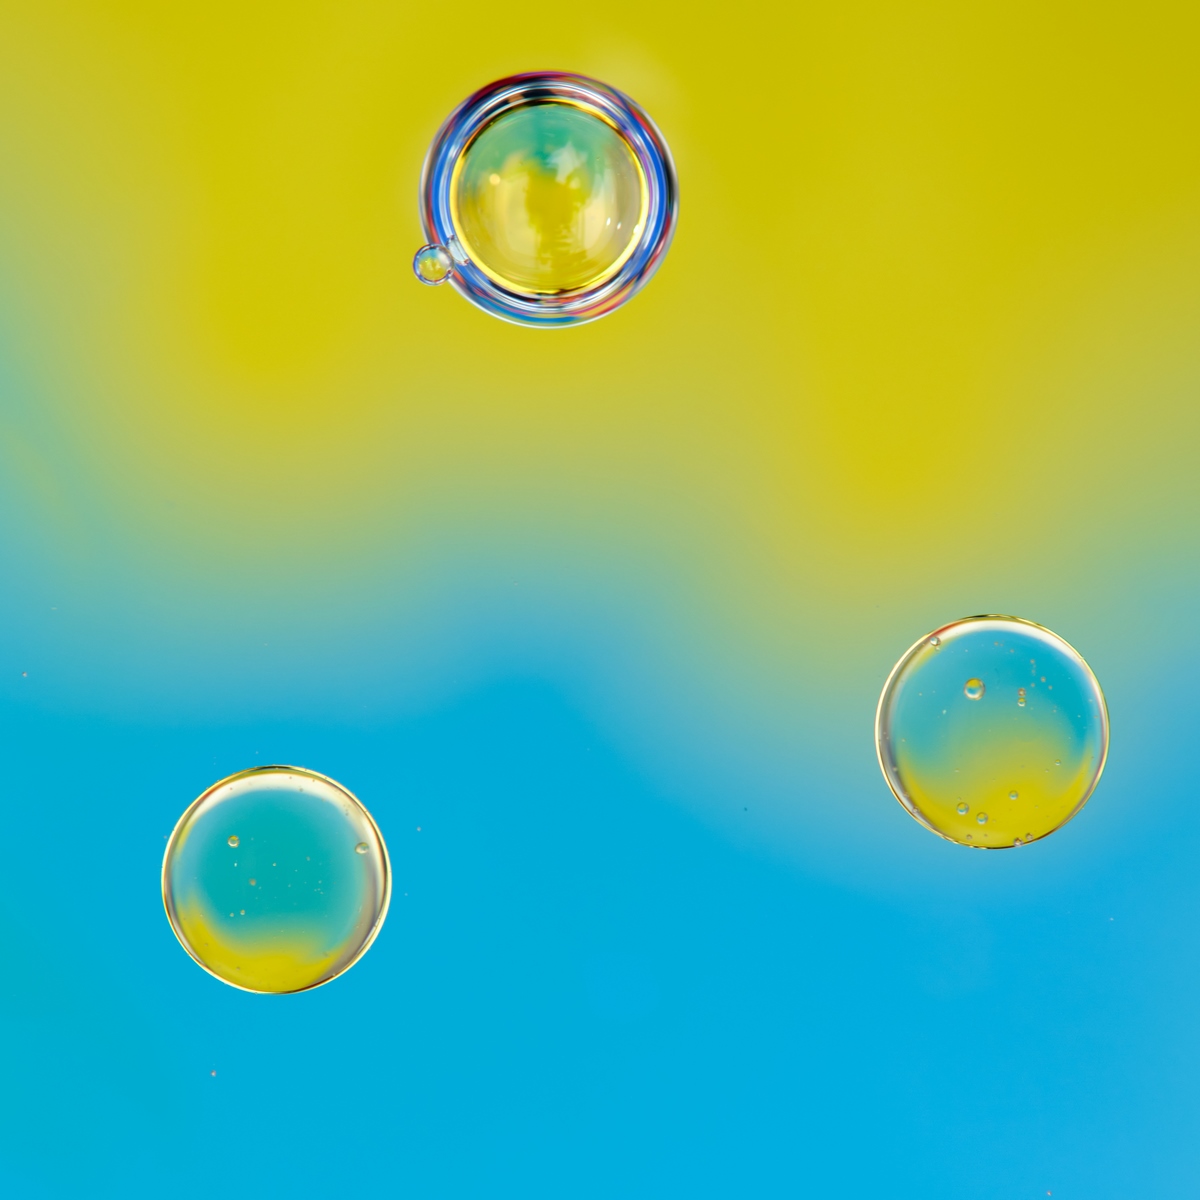
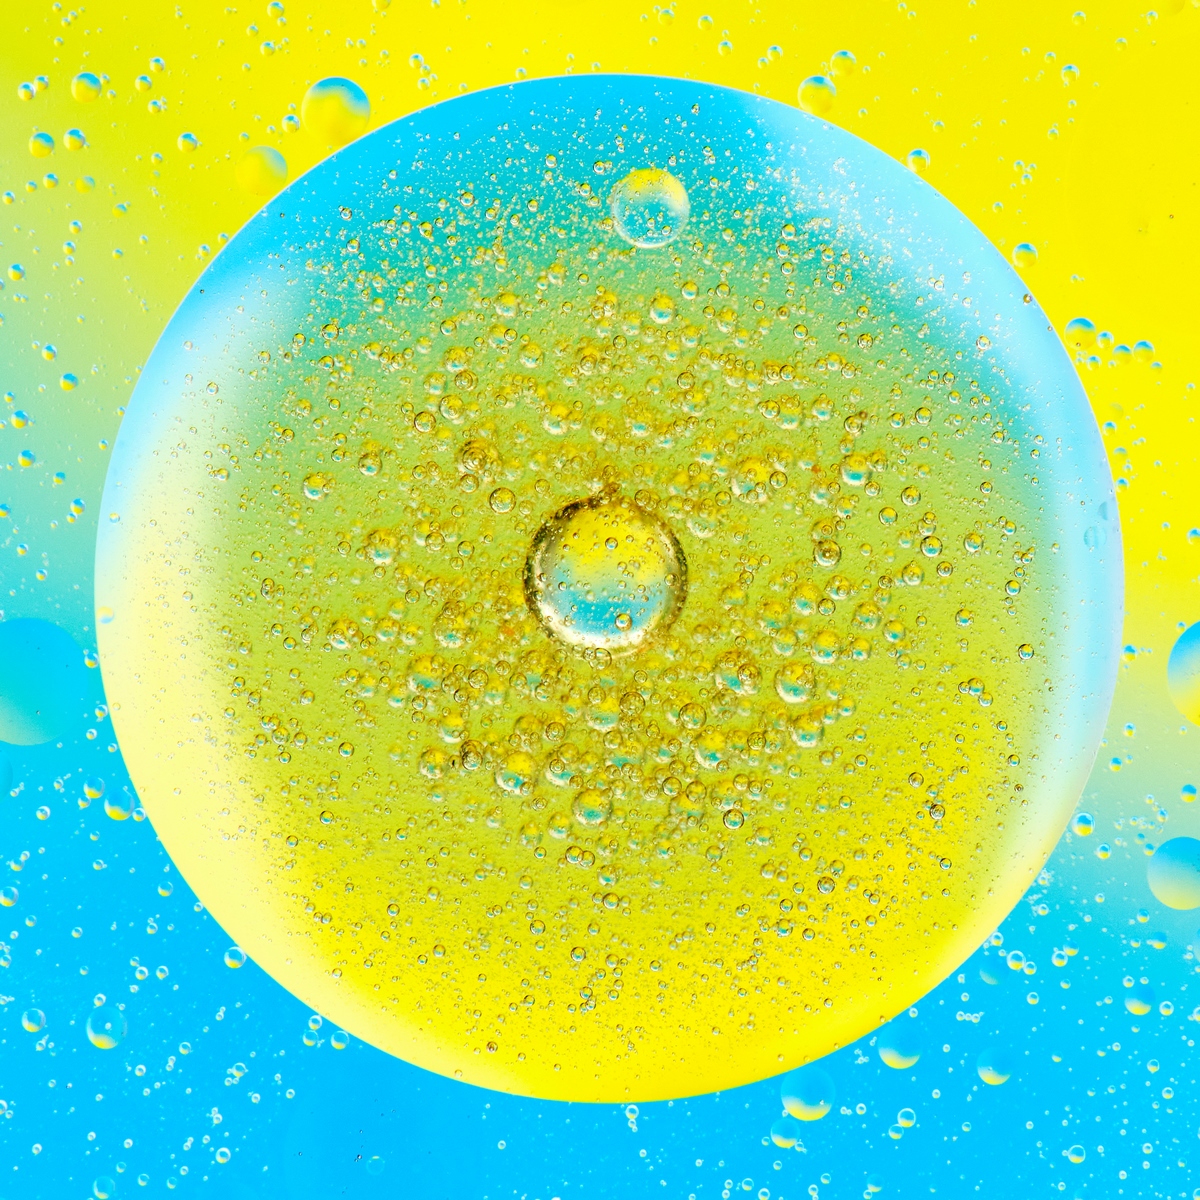
- Some packaging with blue and yellow pattern on it
- Aluminium foil
- A piece of paper with different coloured pom poms stuck on it (this was my favourite background)
- Patterned fabric that was lying around the house
Moving the backgrounds slightly refracted the light and gave me different effects. Some worked out well and some didn’t, if it isn’t looking as you want then just a small adjustment can reap great rewards. I found that different backgrounds required different exposures, keep an eye on your exposures and adjust as you see necessary.
The Edit
Once I had my bank of images it was down to the edit. This is (as with all editing) very subjective, that said I think that this subject lends itself to more saturation and contrast than other subjects. Some images I switched to monochrome and then adjusted the colour channels to create a certain look, other images I added a kick of saturation and tweaked the levels to add a bold look to the images. There is no hard or fast rule with this, the images are there to be played with. One thing I would say is that it doesn’t hurt to process three or four different versions of an image and then look at them afterwards.


About Us
Complaints Procedure
Delivery Info
Employee-owned company
Modern Slavery Statement
Official Orders
Privacy Statement
Security
Support and Returns
Terms and conditions
Vulnerable Consumer Policy
WEEE Policy
Finance
Landing Pages
Banner Promotions
Interest Free Promotions
Cash Back Promotions
Black Friday Deals
LCE Newsletter
We Buy Cameras
New Equipment
Secondhand
All New Equipment
All Secondhand
All New Trade In
All New Categories
